June 21, 2007

Leaf and root rot

A dark brown, dried up spot (oval in shape, 3 by 5 cm across) was found one on one of the leaves. The spot is believed to be the dried-up remains of an unnoticed leaf rot due to water droplet(s) staying too long on the leaf and lack of air circulation. The rotted tissues had dried up and the edge of the dried-up region was firm and incapable of spreading by the time it was discovered . Hence, the spot was left on the plant untouched and untreated as it did not look threatening. A few days after the rot was discovered, the leaf was abundant by the plant probably as the plant's natural survival instinct. The whole leaf turned uniformly bright yellow at a pretty fast rate, and it was dropped when the whole leaf had turned orange.

Root rot was also found on one of the visible roots near the surface of medium. The roots were able to withstand perpetual moisture without any problems for the first six months of watering regime whereby the medium remained moist between waterings. I cannot recall the watering regime or the weather conditions when the root rot occurred. Hence, the cause of root rot is unknown. The root appeared dark brown in color and was soft to the touch. The accessible part of the rotted root was removed by hand, while the rest of the rotted root were left in the pot. Neither was chemical treatment given nor was there any change in watering regime after rot was discovered.

Culture

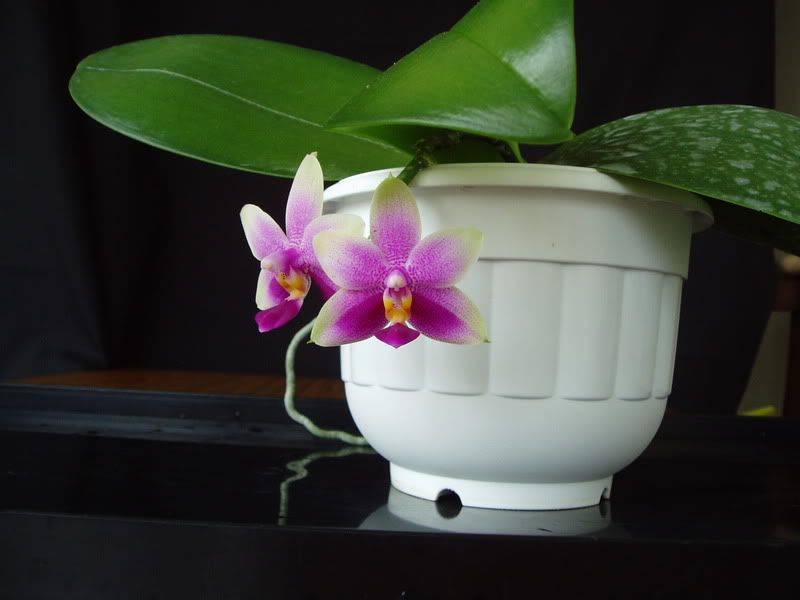
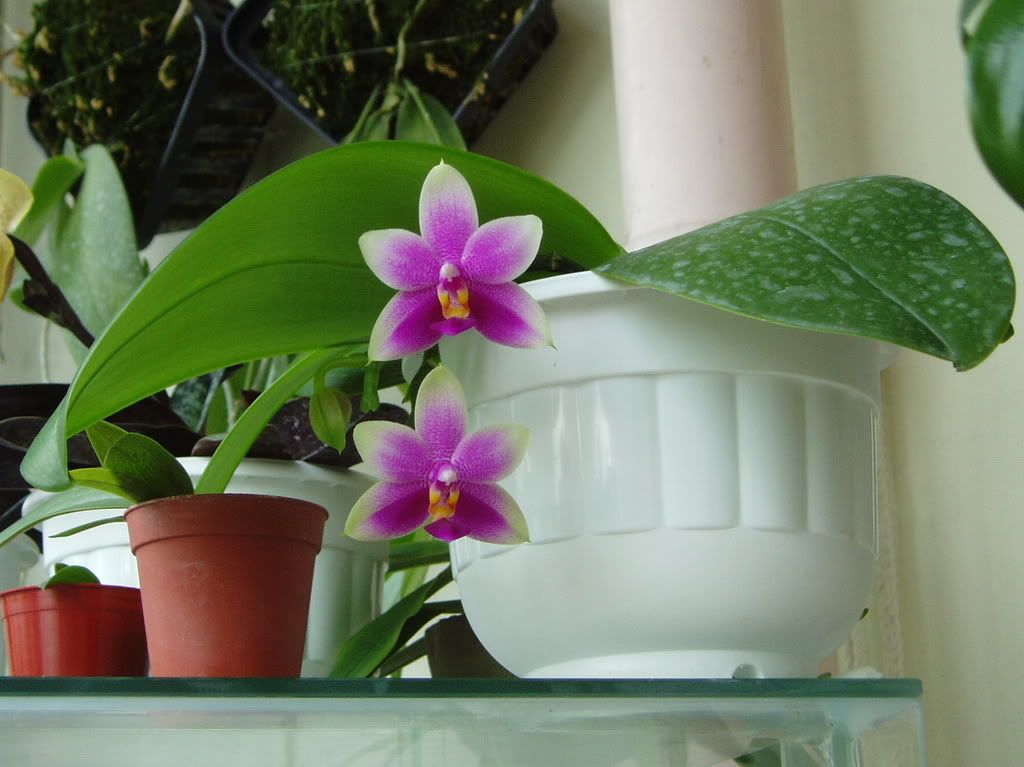
A white plastic pot is used so that the roots will not get over-heated in the direct morning sun. Lighter colored pots are capable of reflecting off more radiation from the sun than darker colored ones, hence reducing the chances of getting root burns (black pots can get burning hot in the sun).

Medium comprises a bottom layer of medium-sized diatomite (for drainage), followed by an inch of sphagnum moss layer (for moisture retention), more diatomite on top of the moss layer (for air circulation to roots and drainage) and finally an extremely thin layer of sphagnum moss (for moisture retention). I don't use charcoal for fear of chemicals added to them that will cause roots to stop growing when they come in contact with the charcoals.

For the first 6 months, this plants was kept pretty moist without drying out between waterings (2-3 times per week). The watering regime was then changed to allow the medium to dry out completely between waterings (once a week) for another few months. This plant has responded well to both watering regimes, but performed slightly better with the former. Furthermore, I believe that most violacea hybrids actually grow better without drying out completely between watering.

For the first few months since purchase (May 2006) to April 2007, fertilizing was given weekly at 2/3 to full strength. Fertilizing was stopped for the whole month of April, and irregular fertilizing at a lower concentration (¼ to 1/3 strength) was given for the month of May. Regular weekly fertilizing at 1/3 to ½ strength resumed from June.

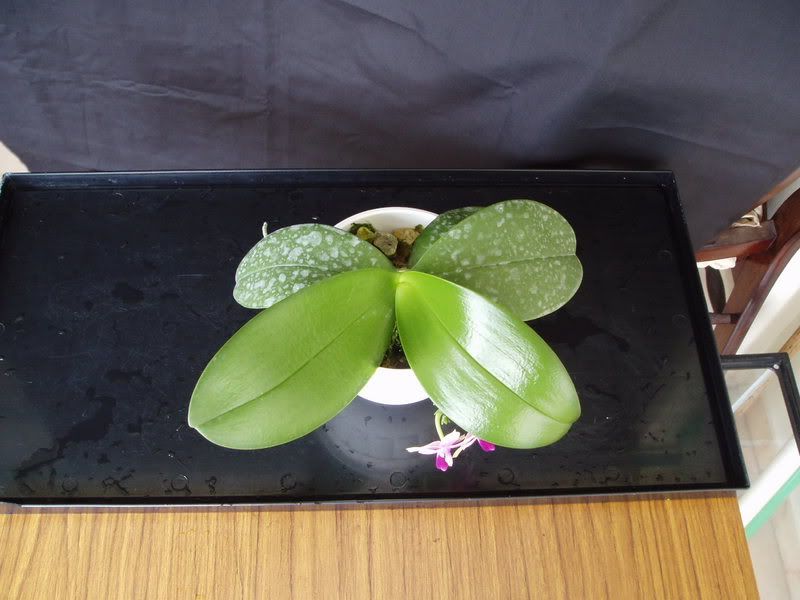
After fertilizing was stopped for one month, the size of the new leaf and the number of flowers were dramatically reduced.

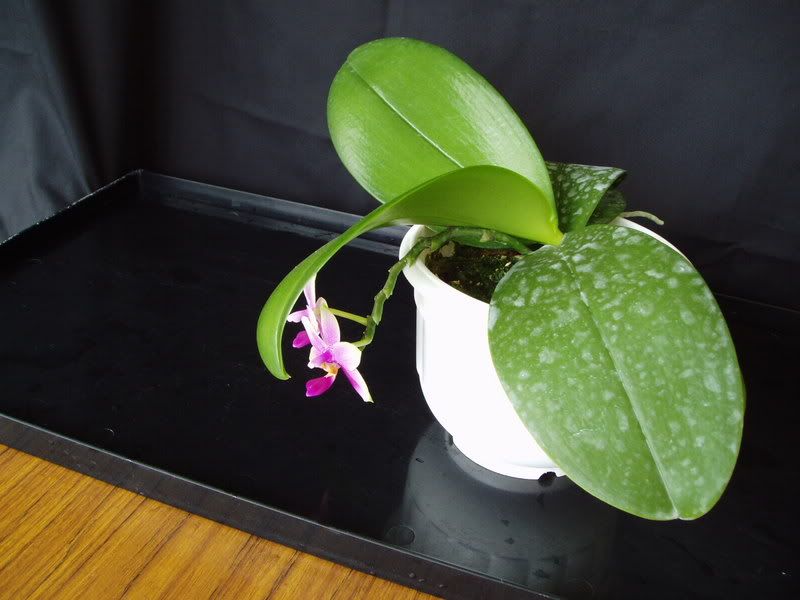
The phal is given 50% morning sun (filtered through tinted window planes) from 8 am (+/- 1 hr) to 11 am and 50% bright shade for the rest of the day.

June 20, 2007

Photos...

14/06/06
.
.
.
.
20/10/06
.


.

08/12/06

.

14/12/06

.

10/03/07


This hybrid is just right for anyone growing phals for the first time. Reasons being that it is extremely easy to grow (forgiving when mistakes are made), not at all demanding (happy with a relatively wide range of growing conditions), free-blooming (has been blooming non-stop for the pass one year ever since I bought it), beautiful leaves and blooms and sweet fragrance. Visible improvements to the shape, size and color of the flowers can be seen as the plant ages.